Jill shows us how to fix a liftgate that has lost its lift.
This week, Jill Washburn, our Jill of All Trades, shows us how to service and/or replace the hydraulic struts that hold up the lift gates and sometimes trunks, on many vehicles., Gas Spring Corp
Over time, these struts can dry out, get clogged with road dirt, or just wear out out entirely. They are actually pretty easy to service yourself. And, if replacement is needed, you can do that yourself, too. They’re really pretty affordable and the fix is quick.
Here, I show you how to figure out if your liftgate struts need replacing.
How do you know if your struts have gone bad? Well, if they are still holding up the hatch or lift gate, they’re probably still good, says Jill. Even if they’re not going up all the way, as long as they’re holding, she says, you’re in good shape.
In Jill’s case, the lift gate kept stopping before it was all the way up. Jill figured that they didn’t need replacement as much as just a little attention. Most likely, they needed a little cleaning and some fresh lubrication. Jill started with the small ball-and-socket joints at each end of the strut where they attach to the vehicle.
I show you, here, how to detach your liftgate struts from your vehicle.
To release these, you may have to undo a screw-on bracket or release a spring clip. Jill’s vehicle (2011 Grand Cherokee) had a clip. She used a small flat-bladed screwdriver to loosen the clip a bit. Then she used a needle-nosed plier to pull it off the joint. Keep track of the clip, says Jill. You’ll need to put it back on when you’re done.
With that done, she used the needle-nosed pliers again to wiggle the joint apart. ****BE PREPARED**** You should have the lift gate propped open or have someone holding it for you because once you pull one end of the strut off, the lift gate will fall. Liftgates and hatchbacks are heavy and one strut, alone, is not enough to hold one open. You don’t want it coming down on your head or pinching your fingers. Removing the other end of the strut should be the same process. Obviously, if you’re replacing the strut, you would just reverse this process and put your new on strut now.
I show you how to clean the ball-and-socket joints where the strut attaches to your vehicle.
If you’re just servicing it, you need to turn your attention to cleaning the existing strut. Once you have it off entirely, says Jill, spray a little WD-40 in the socket ends of the strut and use a rag to clean them out. Most likely, they will be pretty grimy and getting them cleaned out will help the joints move easier. Also, spritz a little WD-40 on the ball ends of the joints, too, and wipe them down. WD-40 is really more of a cleaner for mechanical stuff than a lube and it’s perfect for this type of task. It also helps keep water out.
With the ends of the joints newly cleaned, reinstall the strut by popping the the socket ends over the ball ends of the joints and make sure you secure them with the spring clip or screw-on bracket that you removed initially. The spring clips can be a little booger-y, says Jill, to get back on. You may have to use a screwdriver (or two) or a needle-nosed pliers, to spread them open and get them back on. Jill recommends wearing gloves for this part to keep fingers from getting pinched.
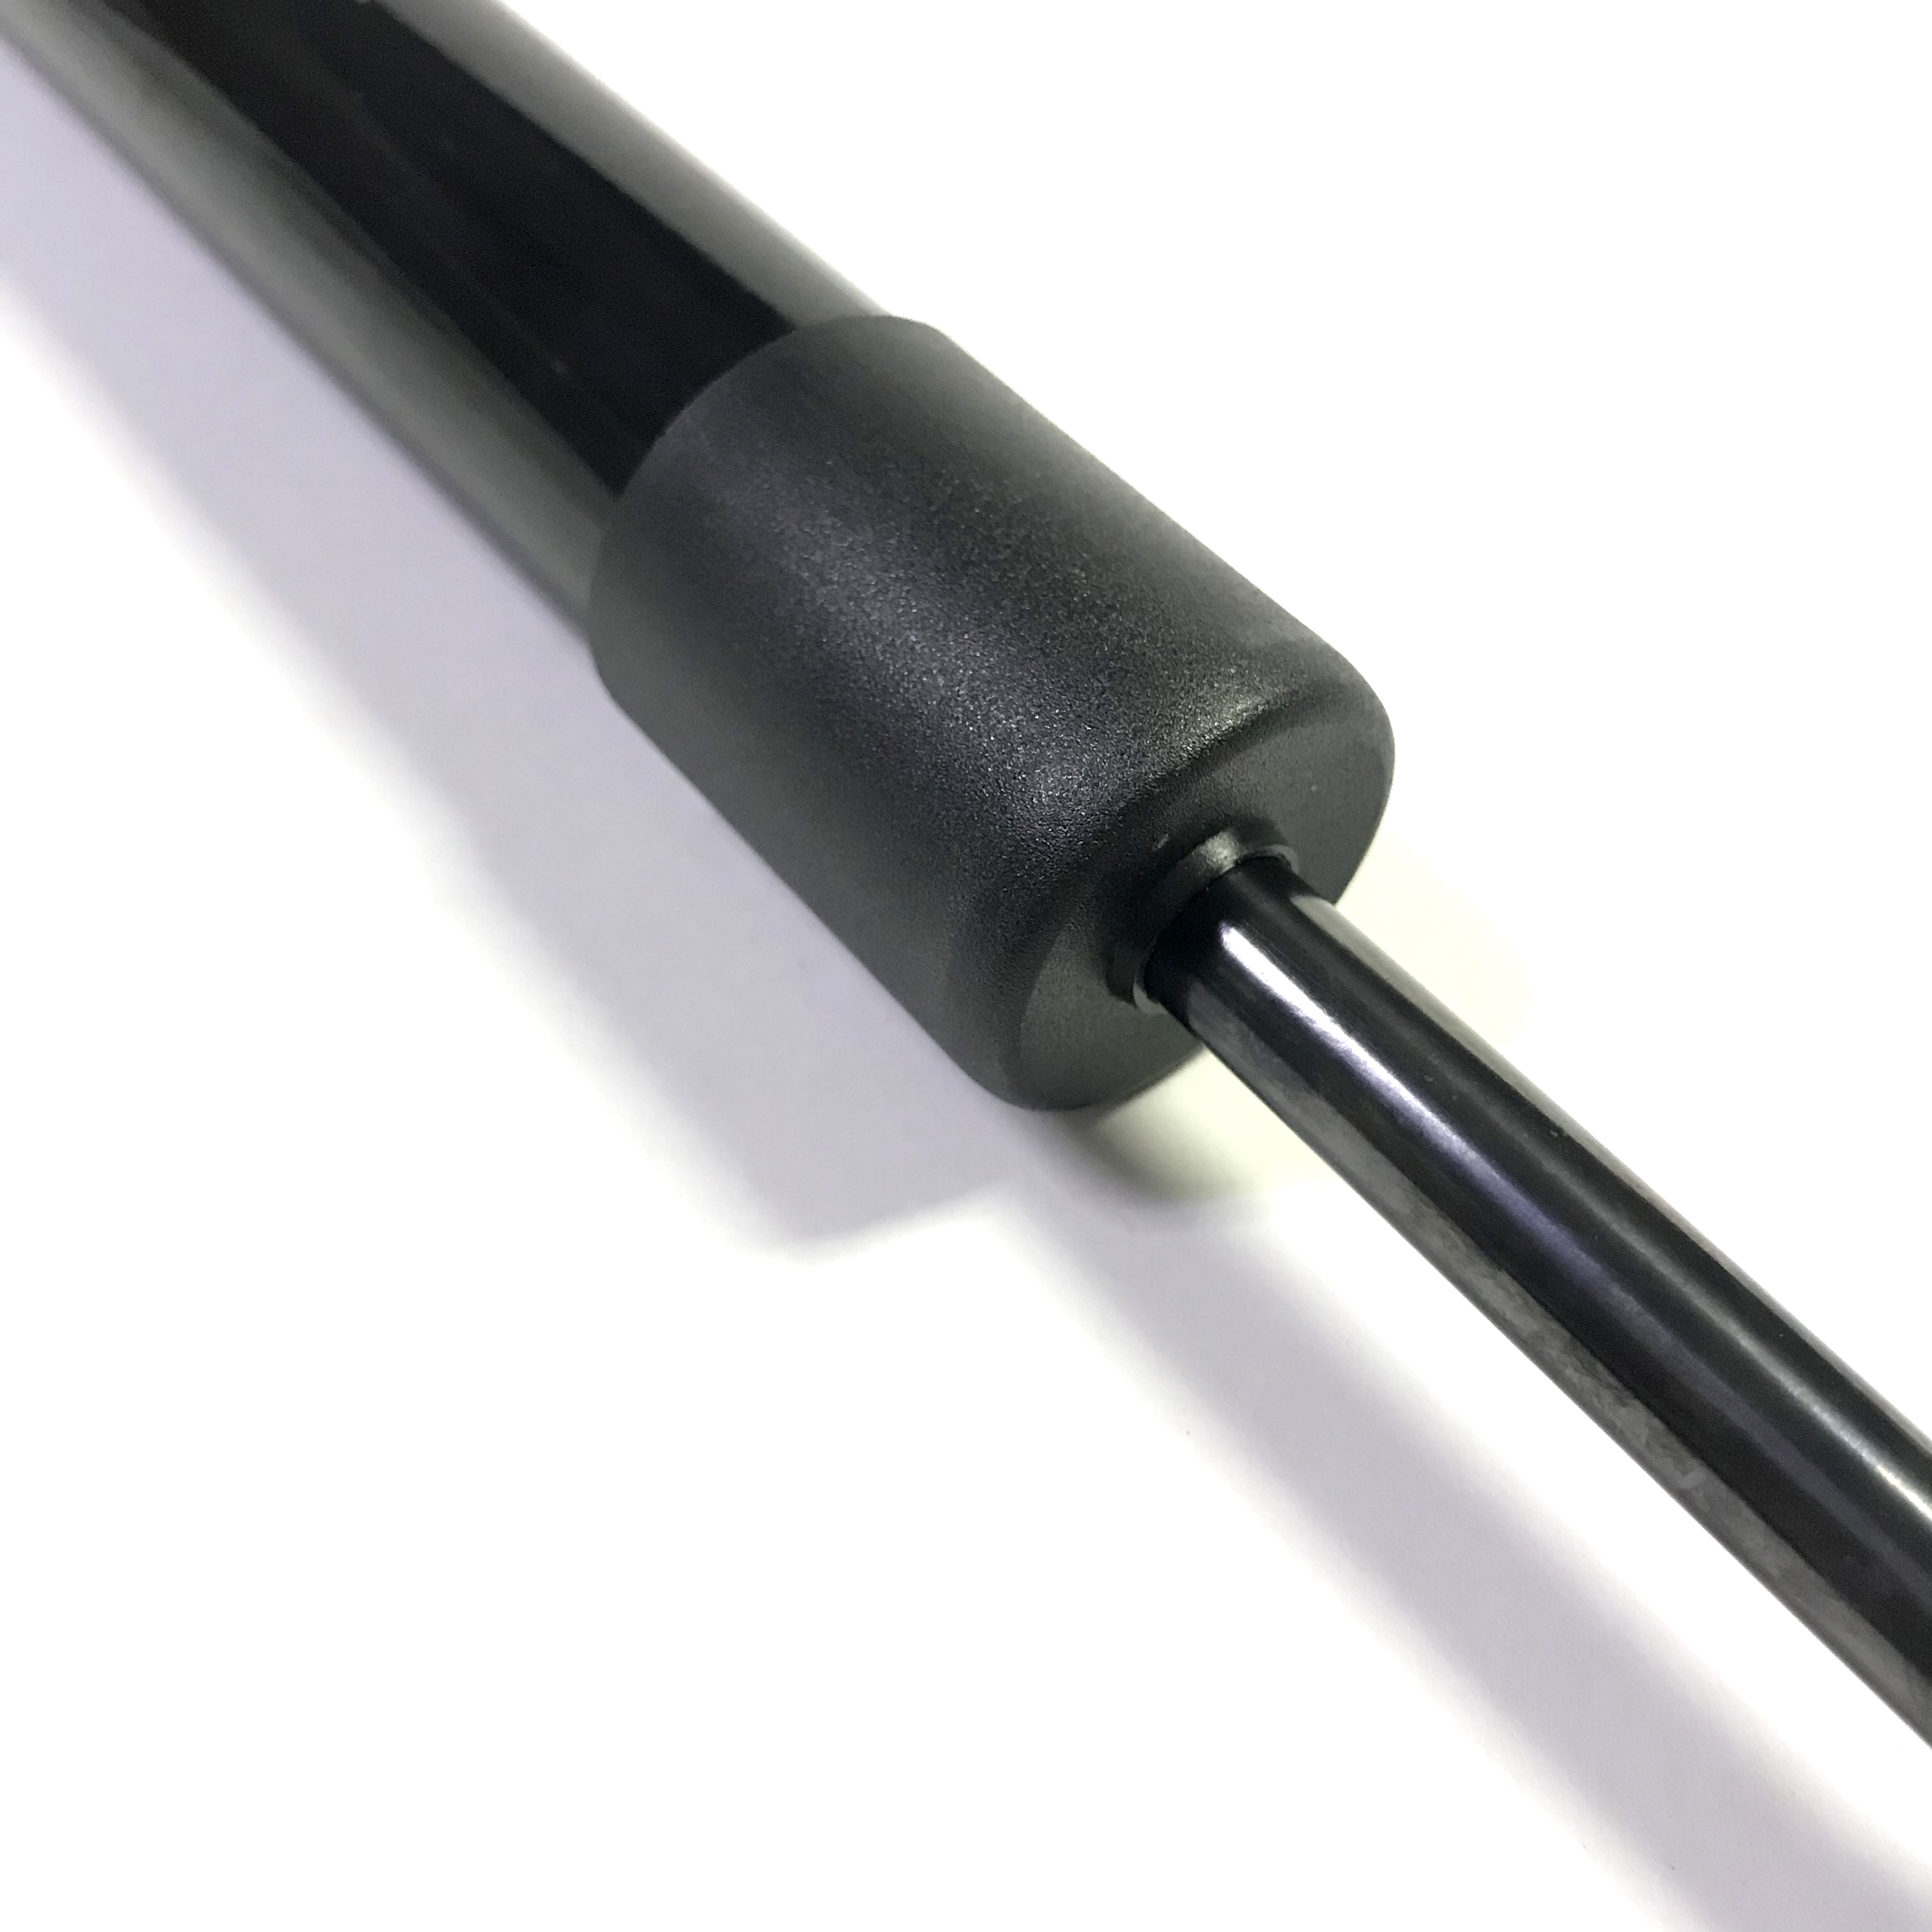
With the strut back on, it’s time lo look at the point where the rod enters the hydraulic piston part of the strut. That’s a place where silt and grime can build up, especially if you drive a lot of dirt roads, like Jill does. The dirt just finds a way in. Jill’s were coated with packed-on dirt. Again, Jill used the tiny screwdriver and gently dug the grime out and away from that joint. Once the dirt was gone, she wiped it down with a rag and applied a light lubricant. A 3-in-1 oil would work. Jill used Tri-Flow, which is something she also uses on bike chains, so she already had it in her shop.
Jill says that you may have to open and close the lift gate a few times to help spread the lubricant. You may even need to reapply the oil immediately to make sure you’ve got enough to coat the rod, as you work the liftgate. After this process, Jill noticed immediately that her liftgate worked easier and extended fully, too, which is something that it hadn’t done in a while.
So, you’re on your way to a better lifting lift gate and you may be able to avoid a trip to the dealer or auto shop.
To watch Jill guide you through the process, click on the video player above.

Small Gas Springs This material may not be published, broadcast, rewritten, or redistributed. ©2024 FOX Television Stations